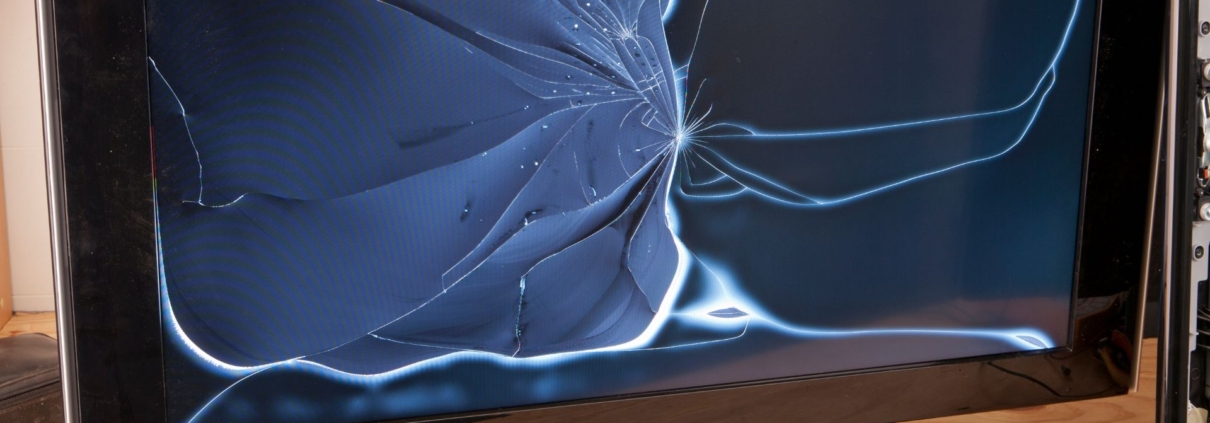
How To Repair A Cracked TV Screen
Getting a crack in your precious TV screen can be heartbreaking. However, before you resign yourself to buying a new TV or living with an unsightly crack, know that it is possible to repair a cracked TV screen yourself. With some basic tools, replacement screen components, and patience, you can often fix a cracked TV screen in the afternoon.
Assessing The Damage
The first step is to thoroughly assess the damage to your TV screen. Carefully examine the size, location, and severity of any cracks. Tiny hairline cracks at the edges of the screen may not necessitate immediate repair. However, any cracks that span more than a couple of inches or are located over important display components typically require repair. Also, note if the crack has caused any dead pixels or image distortion. This will help you determine the necessary repair components.
Gathering The Repair Supplies
Once you have determined that a crack does require repair, you need to gather the correct replacement parts and tools. Essential repair supplies typically include:
- Replacement glass screen digitizer: Match this to your TV make and model. Online TV part vendors are the best places to find these.
- High-quality specialty glue: Optical adhesive is specifically designed for laminating display components.
- Masking tape: To hold components in place as glue sets.
- Isopropyl alcohol: For cleaning the repair area.
- Lint-free cloth: For handling and cleaning screen components.
- Utility knife and tweezers: For precision work.
- Durable gloves: For protection.
The Right Workspace For The Job
You’ll also need an appropriate workspace. Find a large flat work surface, like a kitchen or garage table. Carefully clear the area of clutter and clean it thoroughly. Cover the surface with a soft blanket or towel to avoid scratching the TV screen during the repair process. Use adequate lighting and magnifying tools if necessary.
Disassembling The TV
Refer to the service manual for your specific TV model to guide the disassembly process. Typically, you will need to remove the TV back panel first, followed by any internal framework blocking access to the screen. Carefully disconnect all cables and wiring harnesses to fully access the cracked screen panel. Remove old screen adhesive residue and thoroughly clean the inside frame area.
Installing The New Screen Digitizer
Test the fit of your new screen digitizer panel in the TV frame. Then apply the specialty optical glue to the edges and back side of the panel according to the manufacturer’s instructions. Carefully align the panel in place on the frame. Use masking tape to hold it firmly as the glue bonds. Refer to the glue cure time and refrain from reassembly until fully cured.
Reassembling The TV
Once the screen digitizer repair is fully bonded in place with hardened glue, you can reassemble the TV. Replace any internal framework and panels in reverse order from disassembly. Take care not to overtighten case screws, and ensure no cables get pinched or pierced. Reconnect all wiring harnesses and cables properly. Power on and test display functionality before considering the repair complete.
Be Patient And Meticulous
TV screen repair requires great care, patience, time, and attention to detail. Work slowly and methodically through each repair step. Just take it step-by-step, and don’t force components that don’t seem to fit.
However, if the crack is severe or you don’t feel comfortable attempting the repair, don’t risk further damaging your TV – it may be best to opt for professional TV repair or replacement instead. Reputable TV repair technicians have the skills, tools, and experience to properly assess damage and fix many cracked screens. Get an estimate first, but paying a professional may be worth preserving your TV investment or simply avoiding frustration.


